Replacement Guide
How to Replace Filter Cloth
Step-by-Step Guide · Filter Press Maintenance · OEM-Spec Cloth
Tools & Materials Required
Ensure all items are available before beginning the replacement.
How to Replace Filter Cloth
Follow each step carefully to ensure a proper seal and extend filter press service life.
01
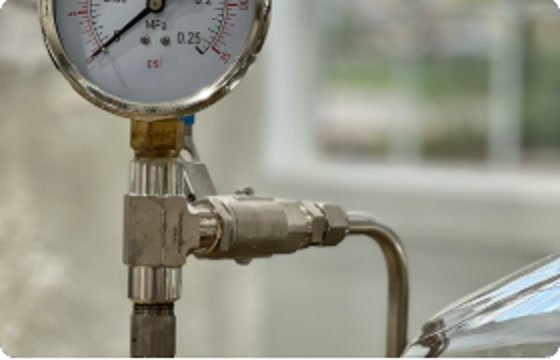
Step 1: Shut Down & Depressurize
Ensure the filter press is completely stopped. Release all system pressure before touching any components. Confirm pressure gauge reads zero.
Safety: Do not proceed until system pressure is fully released.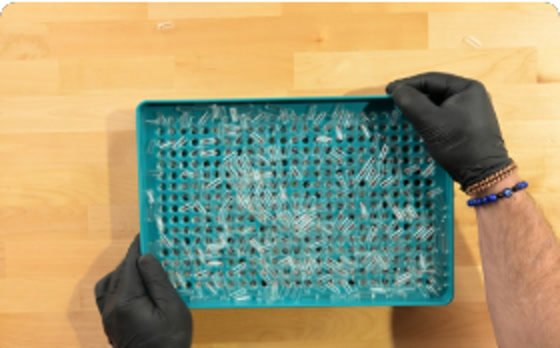
02
Step 2: Remove the Old Filter Cloth
Loosen the filter plate fixing mechanism carefully. Gently pull the old filter cloth from both ends to avoid damaging the plate surface.
Tip: Wear protective gloves — old cloth edges may be sharp.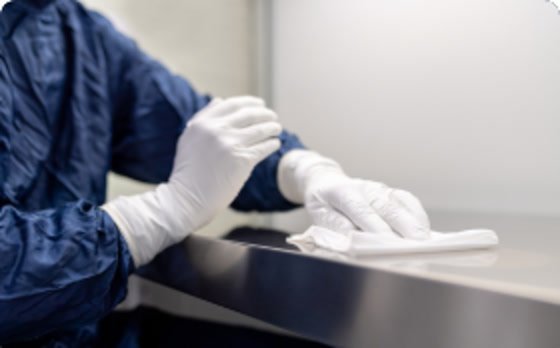
03
Step 3: Clean the Filter Plate Surface
Remove residue from the plate surface using cleaning tools. Inspect the plate for cracks or damage. Apply lubricant to the sealing channel if needed.
Tip: Replace the plate if cracks or deep grooves are found.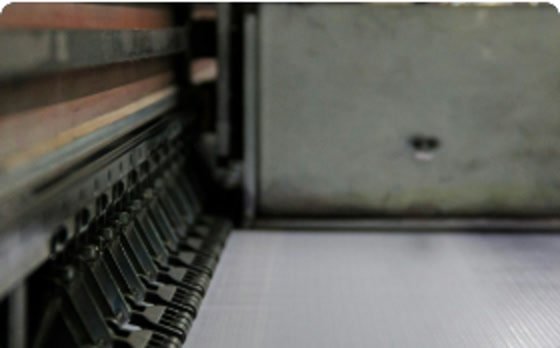
04
Step 4: Install the New Filter Cloth
Align the cloth holes with the plate ports precisely. Lay flat with no wrinkles or overlaps. Ensure even distribution across the entire plate surface.
Key: Any wrinkle at the sealing edge will cause leakage during operation.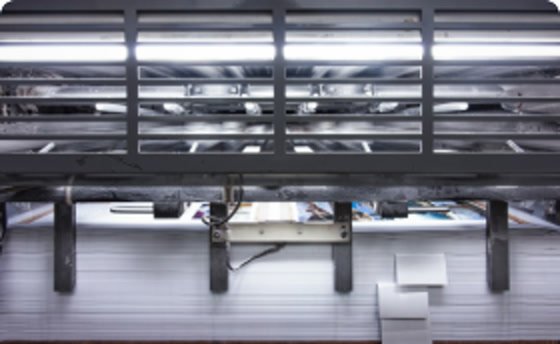
05
Step 5: Secure & Test Run
Re-fasten all fixing mechanisms securely. Perform a low-pressure test run and inspect all sealing edges for any signs of leakage before full operation.
Replacement complete. Monitor closely for the first 2–3 operating cycles.Safety Requirements
These safety measures are mandatory and must be strictly observed throughout the replacement process.
Machine Must Be Off
Never attempt replacement while the filter press is running or pressurized.
Wear Protective Gloves
Protective gloves must be worn throughout the operation to prevent cuts and chemical exposure.
Beware Sharp Edges
Filter plate edges can be sharp. Handle with care and avoid contact with bare skin.
Common Mistakes to Avoid
These errors are frequently encountered during replacement and lead to premature failure or leakage.
×Wrong installation direction
Causes severe reduction in filtration efficiency
×Cloth not laid flat
Wrinkles at sealing edges cause tearing and leakage
×Gasket not replaced
Old gaskets harden and crack, causing material leakage
Products You May Need
OEM-spec replacement parts for your filter press.
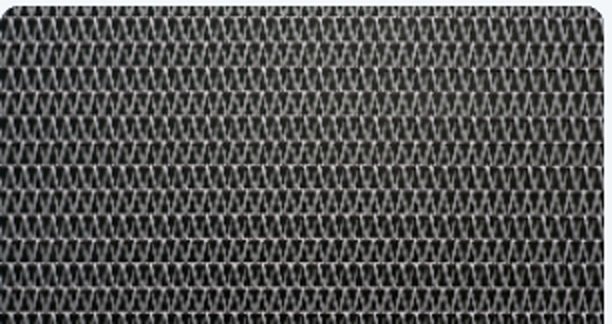
Filter Cloth
PP Filter Cloth
Acid & alkali resistant, high-strength woven polypropylene filter cloth for standard applications.
View Product
Filter Cloth
Nylon Filter Cloth
High permeability nylon cloth for fast drainage and fine particle retention.
View Product
Filter Plate
Filter Plate
Durable polypropylene filter plates compatible with all major filter press brands.
View Product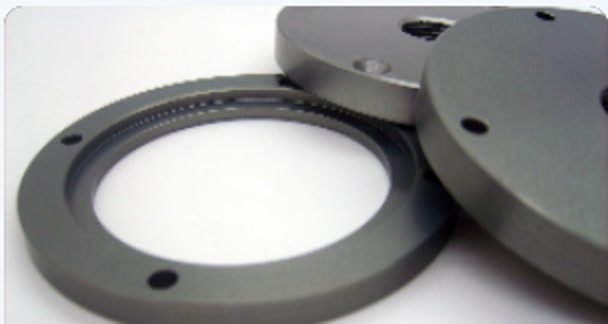
Accessories
Sealing Gasket
High-compression rubber gaskets for reliable sealing across all operating pressures.
View ProductReady to Get Started?
Order OEM-spec replacement parts now or get a customized quote from our technical team.